
Creating a tropical terrarium is a fun and rewarding way to bring a self-sustaining piece of nature into your home. These miniature ecosystems thrive with minimal maintenance, making them perfect for both beginner and experienced plant enthusiasts.
In this guide, we’ll walk you through step-by-step instructions for building a closed tropical terrarium, covering the materials, plant selection, decoration ideas, and essential tips to ensure its long-term success.
If you’re curious about the history of terrariums and how they revolutionized indoor gardening, check out our in-depth article here. And once your terrarium is ready, don’t forget to read our terrarium care guide to keep it thriving for years to come!
Why build a tropical terrarium?
Tropical terrariums are closed ecosystems that recreate the warm, humid conditions of a rainforest. They are self-sufficient, requiring little watering and care once the right balance is achieved. The sealed environment traps moisture, allowing plants to absorb water through condensation, just like in nature.
Materials you’ll need
Container selection
Your terrarium’s container should be clear glass so that light can reach the plants inside. Choose one with a lid or cork to maintain humidity, but make sure it’s large enough for the plants you’ll use.
💡 Good options:
✔ Glass jars with cork lids (great for a classic terrarium look)
✔ Reused glass jars with lids (sustainable and budget-friendly)
✔ Fishbowls or large apothecary jars (for a decorative display)
Avoid plastic containers, as they can fog up and scratch easily.
Substrate base
A well-structured terrarium has different layers to maintain the perfect balance of moisture and airflow. Here’s what you’ll need:
✔ Coconut coir – A lightweight, moisture-retaining base for plant roots.
✔ Expanded clay balls (LECA) or volcanic gravel – Helps with drainage and prevents root rot.
✔ Perlite – Improves aeration and retains moisture without compacting the soil.
✔ Worm castings – A nutrient-rich organic amendment to support plant growth.
✔ Diatomaceous earth – Helps prevent pests and fungal issues in the substrate.
✔ Sheet moss – Great for covering the base and giving a lush look. Moss is an essential component of a terrarium as it helps maintain moisture while adding a soft, green carpet-like effect.
Choosing your plants
The best plants for a tropical terrarium are small, slow-growing species that thrive in high humidity and indirect light. The plants should also have similar watering and humidity needs to prevent imbalance.
Some great options include:
✔ Fittonia (nerve plant) – Compact, colourful foliage that thrives in humid environments.
✔ Ficus pumila (creeping fig) – A small climbing plant that adds height and movement.
✔ Miniature ferns – Such as Asplenium or Nephrolepis, perfect for a lush look.
✔ Peperomia species – Many Peperomias do well in terrariums, like Peperomia prostrata or Peperomia caperata.
✔ Selaginella (spikemoss) – A unique, fern-like plant that loves terrarium conditions.
💡 Tip: Choose a container with a wide opening to make planting and decorating easier.
Tools for building a terrarium
While building a terrarium can be done with just your hands, having the right tools makes it much easier—especially when working with delicate plants or narrow-mouthed containers. Here are some essential and optional tools to help you create your mini ecosystem with precision.
Essential tools:
✔ Blunt-tip tweezers or soft-tipped pincers – Ideal for positioning plants, moss, or decorations without damaging them. Avoid sharp-ended tweezers, as they can bruise or cut soft plant tissue.
✔ A funnel or spoon – Helps add substrate neatly, avoiding unnecessary mess inside the terrarium.
✔ A small brush – Perfect for cleaning off excess soil from leaves and glass walls without disturbing delicate roots.
✔ A misting spray bottle – Provides gentle hydration to plants and moss without disturbing the soil structure.
Useful additions for precision work:
✔ A cork on a stick – Helps tap down soil in hard-to-reach areas without compacting it too much. This is especially useful for taller or narrow containers.
✔ A long-handled spoon or chopstick – Useful for spreading soil evenly, adjusting decorations, or stabilizing plants while placing them.
✔ A skewer with a soft cotton end – Works well for gently cleaning glass or positioning small elements inside the terrarium.
💡 Tip: If your terrarium has a deep or narrow opening, you can DIY cleaning tools like a small sponge attached to a stick to wipe the inside of the glass!
Decorations & final touches
Your terrarium should reflect your personal style! Here are some ideas for decorative elements:
✔ Colored sand layers – Create a unique, layered effect.
✔ Small decorative stones – Add natural texture and contrast.
✔ Miniature figurines – Make your terrarium a tiny fantasy world.
✔ Driftwood or bark – Mimics a natural forest floor.
How to build your terrarium:
Step 1: Prepare your container
1️⃣ Wash your glass container thoroughly with mild soap and water.
2️⃣ Rinse and let it dry completely to prevent mold growth.
💡 Tip: If using a repurposed jar, make sure it is free of residue or chemicals.
Step 2: Create a drainage layer
3️⃣ Add a 2-3 cm layer of expanded clay balls (LECA) or volcanic gravel at the bottom.
4️⃣ This layer prevents excess water from accumulating and causing root rot.
💡 Tip: A slightly slanted drainage layer creates depth and makes your terrarium more visually appealing.
Step 3: Add the soil mixture
5️⃣ Mix coconut coir, perlite, worm castings, and diatomaceous earth to create a light, well-draining soil.
6️⃣ Add a 4-6 cm layer of this mix over the drainage layer.
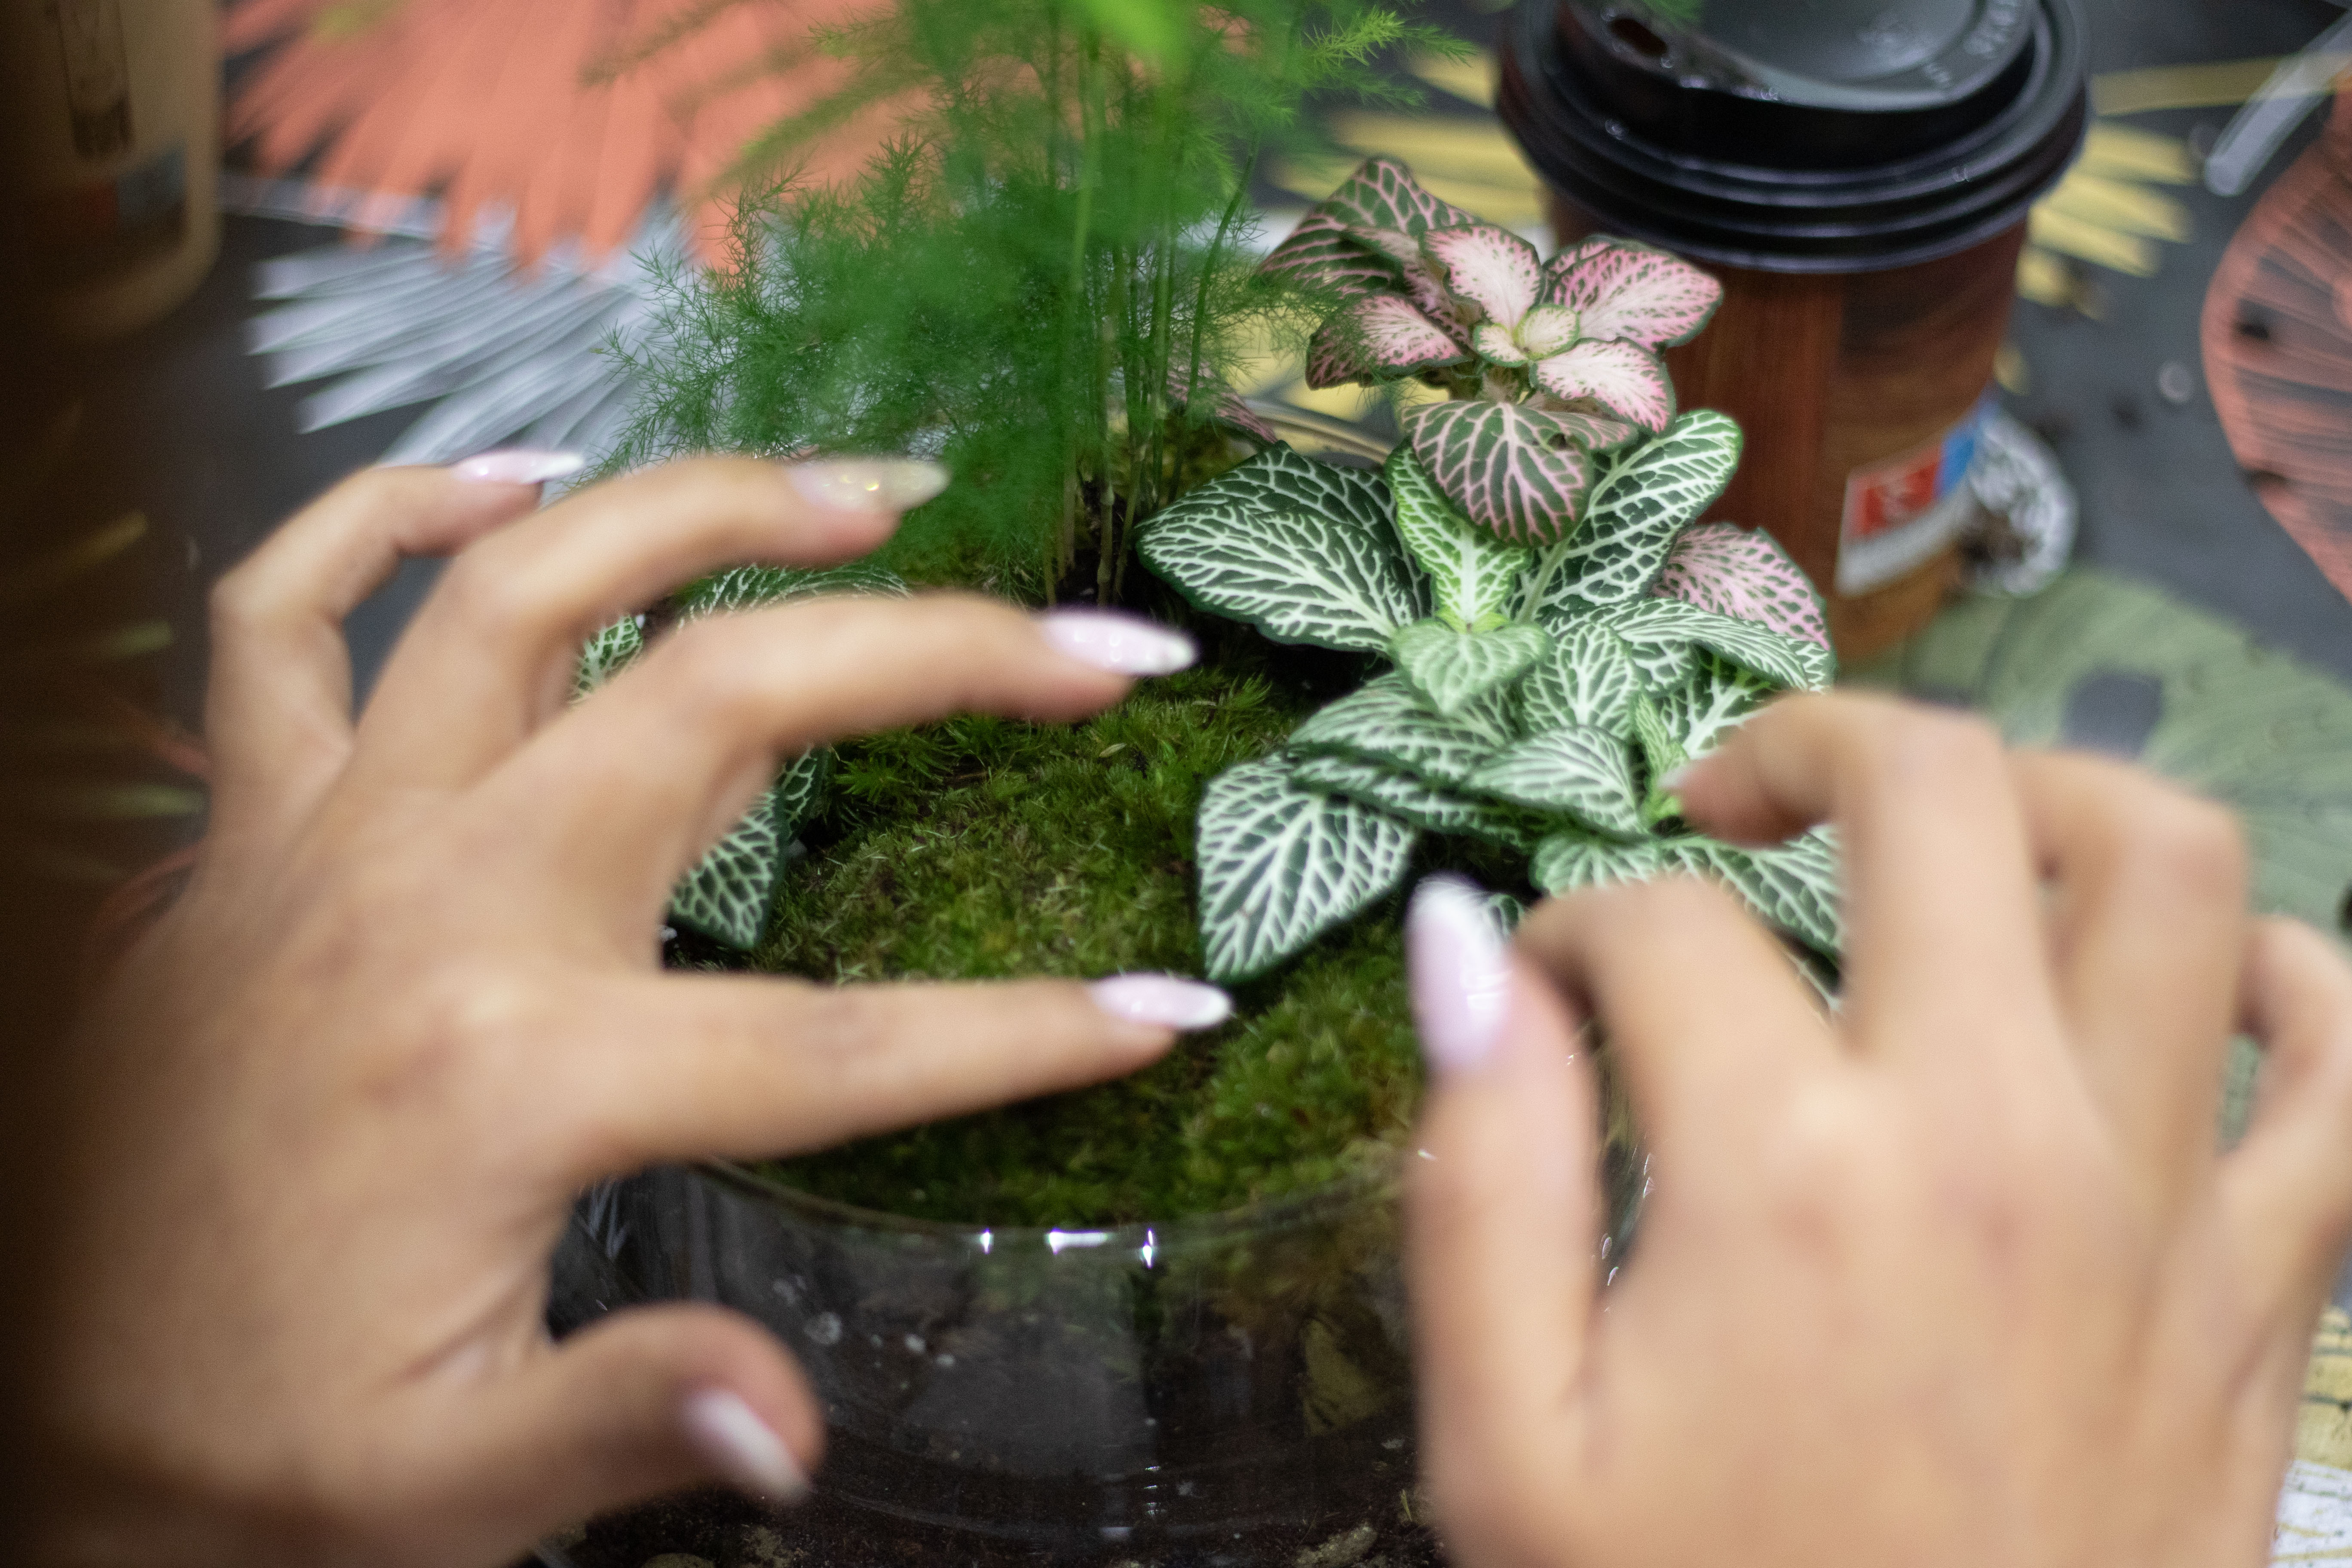
Step 4: Position your plants
7️⃣ Carefully remove your plants from their pots and shake off excess soil.
8️⃣ Arrange taller plants like Ficus pumila toward the back and shorter ones like Fittonia in the front.
9️⃣ Gently press the roots into the soil and cover them lightly.
💡 Tip: Leave space between plants for future growth and airflow.
Step 5: Add moss for extra humidity
🔟 Place sheet moss around the plants and press it gently into the soil. Lightly mist the moss with water to help it settle.
Step 6: Decorate your terrarium
Use coloured sand to create beautiful layered effects with different shades, small stones or pebbles to use as ground cover or to create paths, add mini figurines for a playful touch… We’ll leave it to you to create a unique look that will make your terrarium extra special 🙂
Step 7: Water and seal your terrarium
Lightly mist the plants and soil with distilled or filtered water. Avoid overwatering—your terrarium should be moist but not soggy. Close the lid to allow the terrarium to create its own water cycle.
Next steps: caring for your terrarium
Your tropical terrarium is low-maintenance but not maintenance-free! To ensure it thrives, check out our detailed guide on How to care for your terrarium where we cover watering, light conditions, and troubleshooting.
Join our terrarium workshops!
Want expert guidance and all the materials carefully prepared for you? If you’re in Barcelona or Madrid, join one of our terrarium workshops at Planteka! Learn how to build and care for your mini-ecosystem while crafting a stunning terrarium to take home. 🌿✨
📅 Check our upcoming workshop dates and book your spot today!
Happy planting!
